Step 1
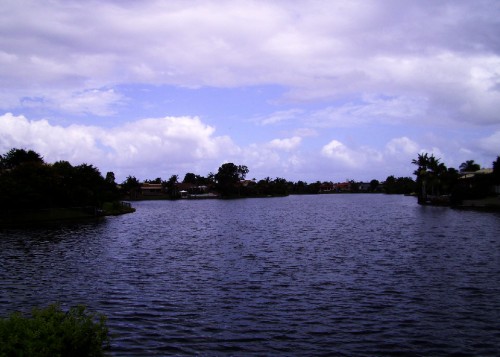
Download a copy of this image and load it into Photoshop.
Because we're creating a rainy image, so firstly we can make the image a bit darker.
To do this, duplicate the background layer once and change it the blending option of the duplicated layer to "Multiply". This will darken the whole image and the effect is shown blew:
Step 2
Then we can tackle the sky area and make it darker. Hide the "Background copy" layer for now and Press "L" to select the Lasso Tool. Draw a selection around the sky area.
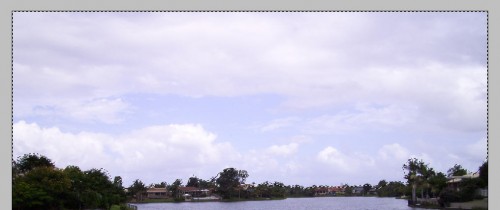
Hit Ctrl + J to make a layer via Copy, name the new layer as "sky" and drag it on top of all other layers.
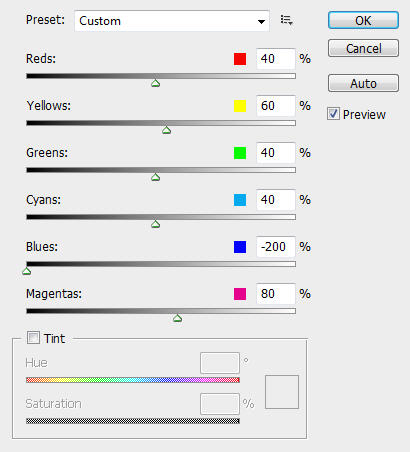
Then hit Ctrl + Alt + Shift + B and bring up the Black and White image adjustment Tool, apply the following settings:
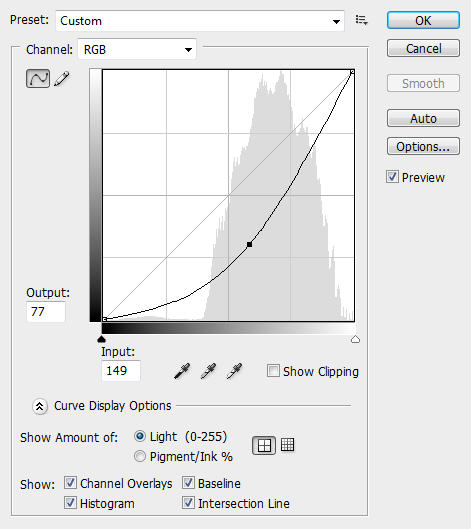
Then hit Ctrl + M to bring up the Curve Adjustment Tool, apply the following settings:
You can also use the Blur/Smudge Tool to patch up the "sky" layer so it blending more seamlessly to the houses and trees below:
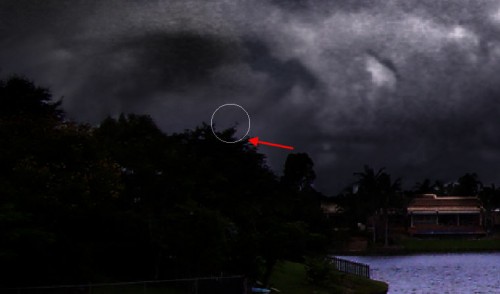
Once you're happy with the result, change the blending option of this "sky" layer to "Multiply", and the effect will look like this:
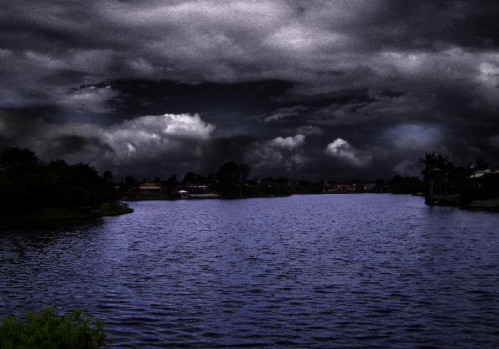
Step 3
Now you will notice that we have quite a few noise on the "Sky" layer, which you may want to get rid of. So to do this, duplicate the "Sky" layer once. On the duplicated layer, go to Filter > Blur > Surface Blur and apply the following settings:
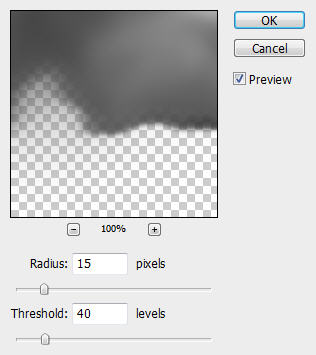
Then change the layer blending of the duplicated layer to "Hard Light" and you will have the following effect:
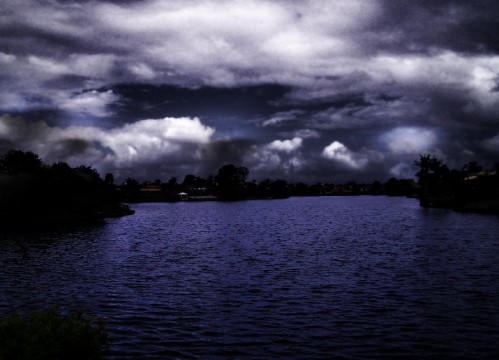
Step 4
Now we will add some lightning effect to image. Download a copy of this lightning image and load it into Photoshop. Use the Rectangular Marquee Tool to select a portion, copy and paste the selection back to our document. Put this layer on top of all other layers and name it "Lightning"
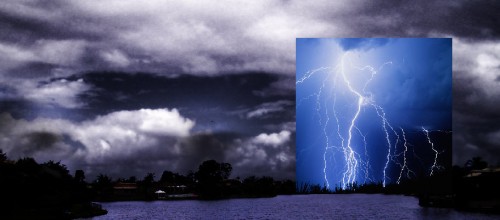
Then use the Eraser Tool to gently erase the unnecessary portion of the image and leave only the lightning bits:
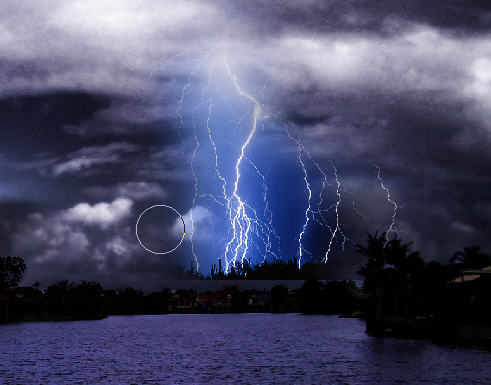
Step 5
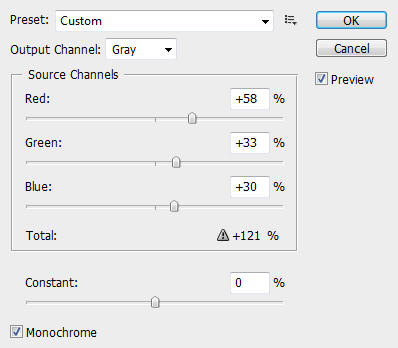
Still on the "lightning" layer, go to Image > Adjustment > Channel Mixer and apply te following settings:
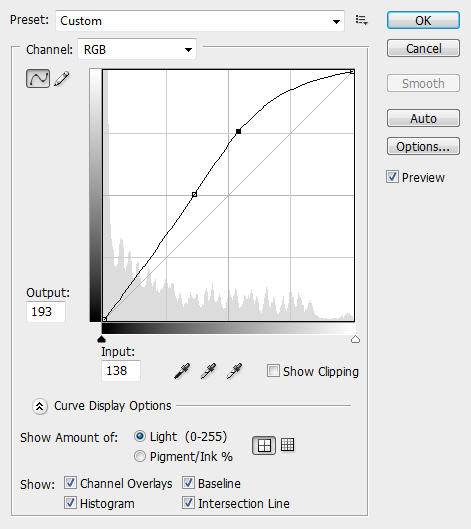
Then apply the following Curves Adjustments:
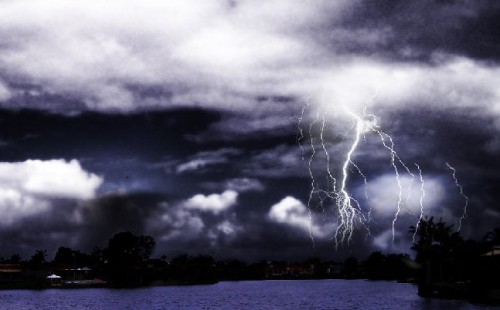
Then change the layer blending option of this lightning layer to "Screen" and you shoud have the following effect:
Step 6
Still on the "lightning" layer, use the Clone Stamp Tool (S) to clone a few portion from the existing lighning and create some dynamic lightning effect:
Tip: use a big soft brush and adjust the flow and opacity to make lightning more dynamic.
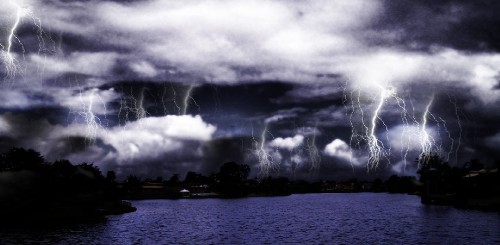
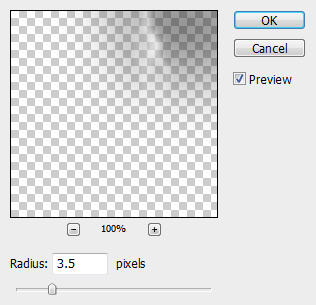
Once you're happy with the result, duplicate this lightning layer once and on the duplicated layer, apply the Gaussian Blur with the following settings:
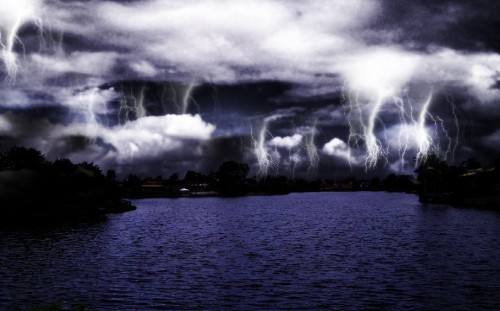
Keep the layer blending option of the duplicated layer to "Screen" and you should have the following effect:
Step 7
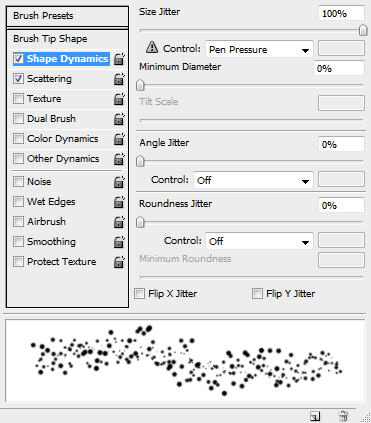
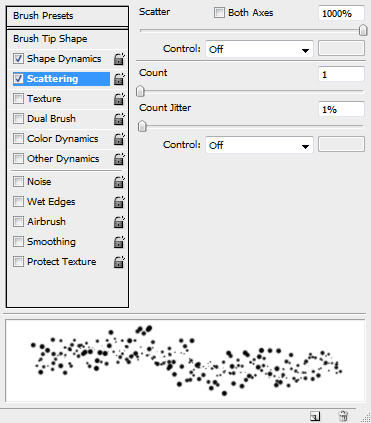
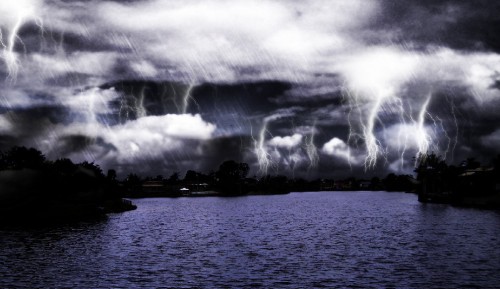
Now we can render some rainy effect on the image. Create a new layer called "Rain" on top of all other layers, grab a small White brush (3px) and apply the following brush options:
Shape Dynamics
Scattering
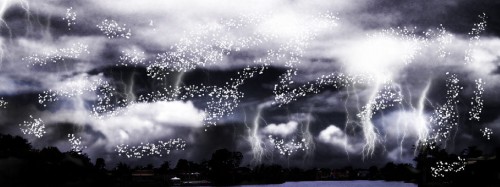
Once you set the brush, simply paint over the sky area:
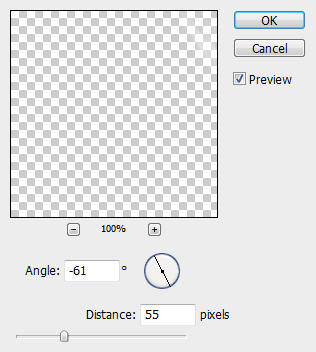
Then apply the following motion blur settings:
After that, change the layer blending option to "Overlay" and you will have the following effect:
Step 8
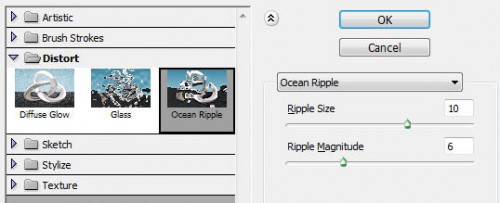
To add a bit of water splashes on the lake so it look a bit more realistic, we can duplicate the background layer once more and put the duplicated layer just above the background layer, go to Filter > Distort > Ocean Ripple and apply the following settings:
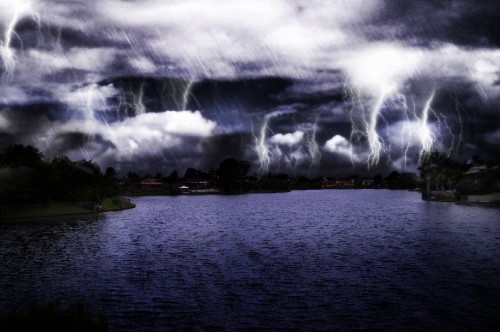
Also if you would like to reveal the houses a bit more, you can simply use the eraser tool on the "Background Copy" layer and erase the area of the house out.
And the effect should look like the following image:
Ok that's it for this tutorial! Hope you find it useful and inspirational :)
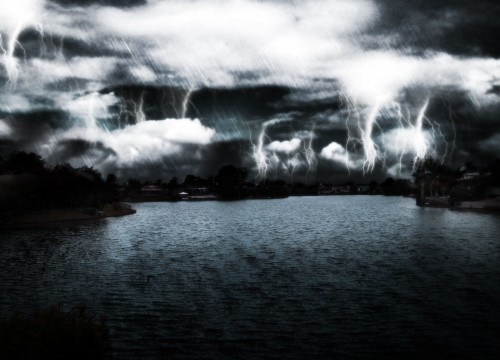
Here is my final image for this tutorial: (I adjusted the Hue/Saturation of the image a bit)
Cheers and have a nice day!


0 Comments:
Post a Comment